In RSX, everything in your 3D world is a Scene Object (also called an entity or node in other engines).
A @rsx.SceneObject is the fundamental building block of any scene:
- It lives inside a @rsx.Scene resource (or @rsx.SceneInstance when instanced for editing or simulation).
- It has a name, a unique UUID, and can be active or inactive.
- It can have a parent and multiple children → this forms the scene hierarchy (a tree structure).
- It holds components that give it functionality: rendering, physics, logic, audio, lights, cameras, and more.
- Through its @rsx.SceneObjectTransform it has spatial properties (position, rotation and scale) managed automatically through its hierarchy (via the built-in transform system).
Think of a Scene Object as an empty container at first. By adding components and parenting it to other objects, you turn it into a character, prop, light, trigger zone, or anything else your experience needs.
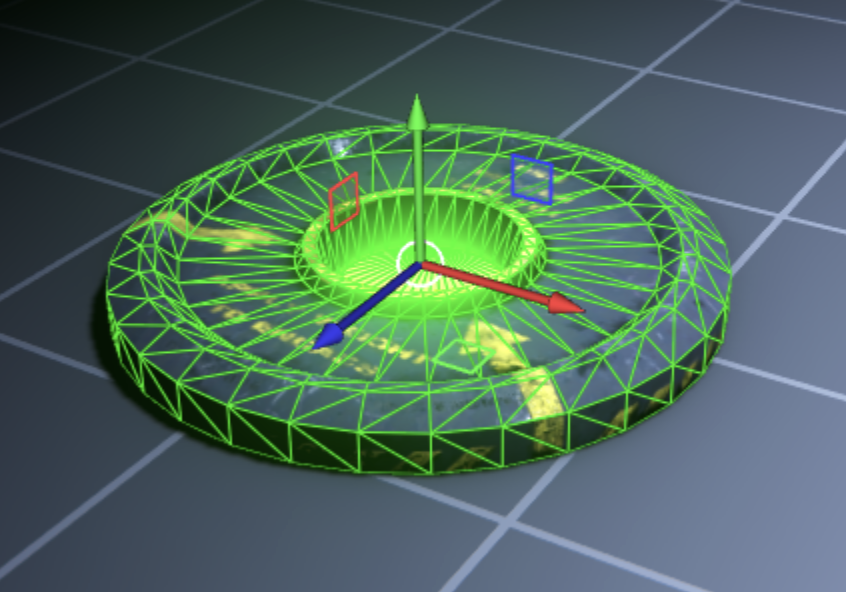
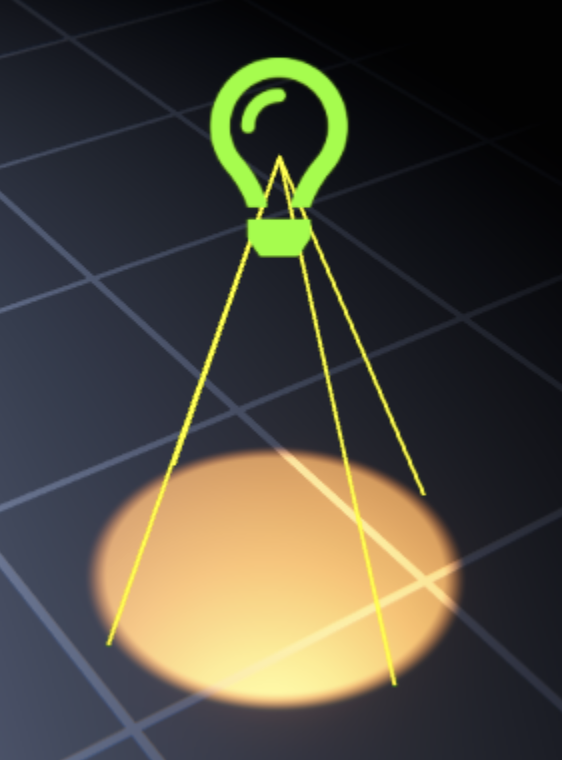
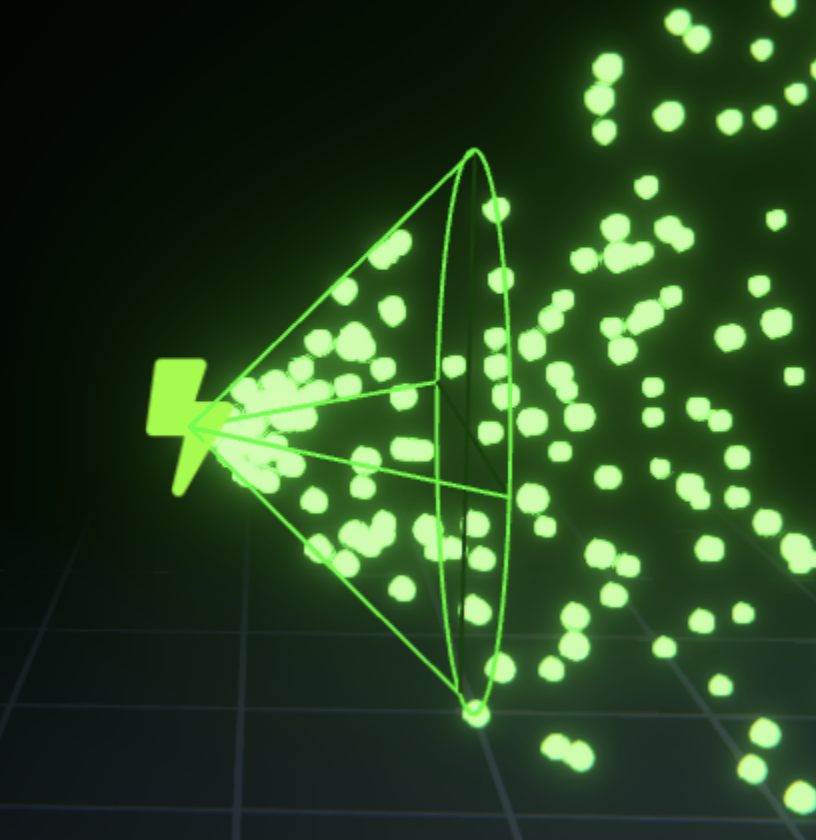
| @rsx.Renderable | @rsx.Light | @rsx.ParticleSystem | @rsx.Text3D |
|---|---|---|---|
 |
 |
 |
 |
The table above shows a small selection of different @rsx.Component types that are readily available in RSX Engine.
¶ Creating A New Scene Object
When creating a new Scene Object, it is typically spawned infront of your viewport's camera - unless a specific position was chosen.
You have several quick ways to create an Scene Object:
| Method | How to do it | Best for |
|---|---|---|
| Main Menu | Menu |
Starting fresh, or creating a Scene Object with a preselected Component |
| Keywindow Toolbar |  Scene Object Button or Component buttons Scene Object Button or Component buttons |
Starting fresh, or quick access to geometry and lights |
| Right-click in World Outliner | Right-click → New Scene Object → Parented to *** | Precise placement in hierarchy |
| Right-click in Scene Editor | Right-click → New Scene Object at Position → Parented to *** | Exact world position |
| 3D Primitives | Menu |
Quick geometry |
| Drag asset from Library | Drag a Mesh or Template into the viewport | Quick creation of assets or template instances. We will take a look at the Template system in a later chapter! |
The following video shows the different methods to quickly create a new Scene Object:
Now that you're familiar with the workflow to create a new Scene Object, let's take a look at how we can edit the properties of a Scene Object.
¶ Editing Scene Objects and Components
First create a new Empty Scene Object as outlined in the previous chapter.
It should automatically become selected upon creation, but if you deselected it, make sure to select it.
The Gizmo allows you to change the position, scale or rotation of the selected Scene Objects. However, you can also modify the properties of the @rsx.SceneObjectTransform directly in the Scene Object Inspector. This is useful if precise placement or orientations are required.
Adding new components to your Scene Objects is very easy and intuitive in RSX:
- Create or select an Empty Scene Object.
- In the Scene Object Inspector, scroll to the Component section and click on the + Add button right next to the section header.
- The Component Browser window appears and you can immediately begin typing to search for a component. Type
lightand double-click the list-item to add it to your Scene Object.- You can favorite the component that you use the most by clicking on the ❤️-button that appears on the right side of any component you hover. Favorited components will always appear at the top of the list.
- The new component appears as a box that contains all of its properties in the Scene Object Inspector below the Component section header.
- Your Scene Object now emits light, if you don't see it move it closer to some geometry in your "First Person Camera" sample project.
- Note: You can also move the current selection object to any position in the world by Right Mouse clicking on Geometry in the Scene Editor to open the context menu and selecting Selected Object → Move to Position.
- To remove the @rsx.Light component, click the 'x' button in the component box header.
Almost every visible or interactive feature in RSX comes from adding the right component, so you're set to almost ready to start building!
¶ Fat Components
Components are great, but a large majority of your experience likely consists of inanimate static meshes with colliders, or small props that interact with the world using rigid body physics. Wouldn't it be great if there is a way to represent this commonly used set of components as a group?
Yes, there, is! RSX's Fat Component System comes into play!
To improve performance RSX introduces a new concept called Fat Component to the popular component-based engine architecture. Fat Component represent multiple different components that are grouped together that allow the engine to improve scheduling and runtime performance.
| Fat Component | Description | Included Components |
|---|---|---|
| Static Mesh | Represents a non-animated mesh, that supports physics colliders and rigid body simulation | @rsx.Renderable, @rsx.PhysicsCollider, @rsx.Rigidbody |
| Skeletal Mesh | Represents a skeletal or morphshape animated mesh, that supports physics colliders and rigid body simulation | @rsx.Renderable, @rsx.Animation, @rsx.PhysicsCollider, @rsx.Rigidbody |
To create a Scene Object with a FatComponent use the Menu Objects → Static Mesh or Menu Objects → Skeletal Mesh.
Alternatively, when you drag in a @rsx.Mesh from the Library it will automatically create either a @rsx.StaticMesh or @rsx.SkeletalMesh depending on the type of the Mesh Resource.
¶ Next Steps
Scene Objects and the hierarchy are the foundation of everything you build in RSX. Once you're comfortable creating, parenting, and adding components, you’re ready to start building full interactive scenes!