In RSX Engine, logic and behaviors bring your scenes to life: from simple rotations and animations to dynamic AI, physics interactions, and complex interactive systems. This chapter reiterates on the foundational Scene Object and Component concepts introduced earlier, then walks through creating a basic behavior two ways: via TypeScript scripting (for code-driven control) and the Carbon Logic Graph (for visual, node-based scripting).
Whether you're a programmer or a designer, RSX supports both approaches seamlessly, and you can mix them in the same project.
¶ Overview of SceneObjects and Components
As covered in earlier guides, Scene Objects are the entities in your 3D world, like actors on a stage. They're hierarchical (parents/children) and have built-in transforms (position, rotation, scale).
@rsx.Component attaches to @rsx.SceneObject to add specific functionality. They're modular building blocks:
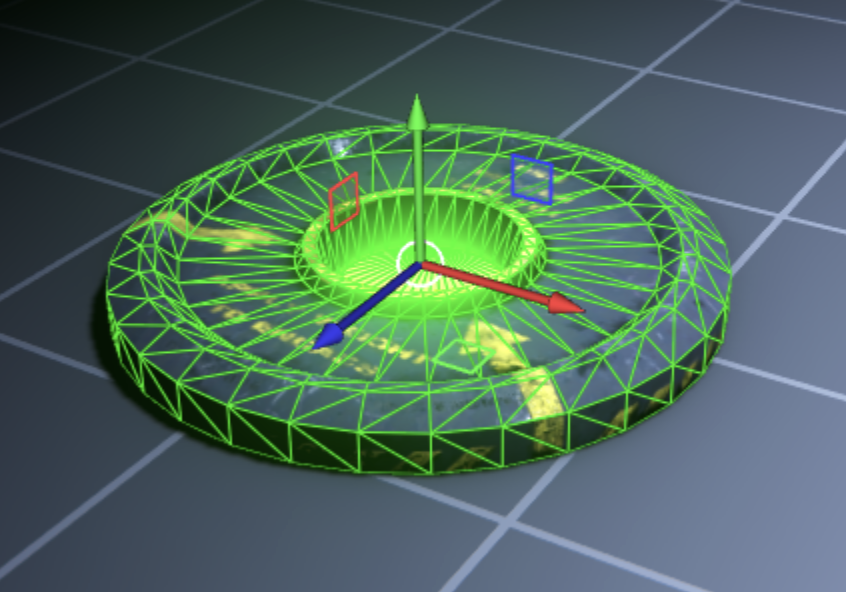
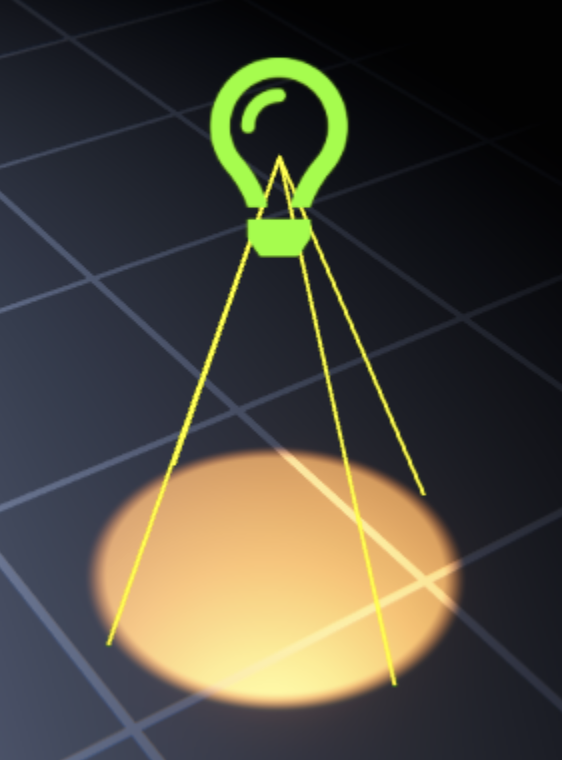
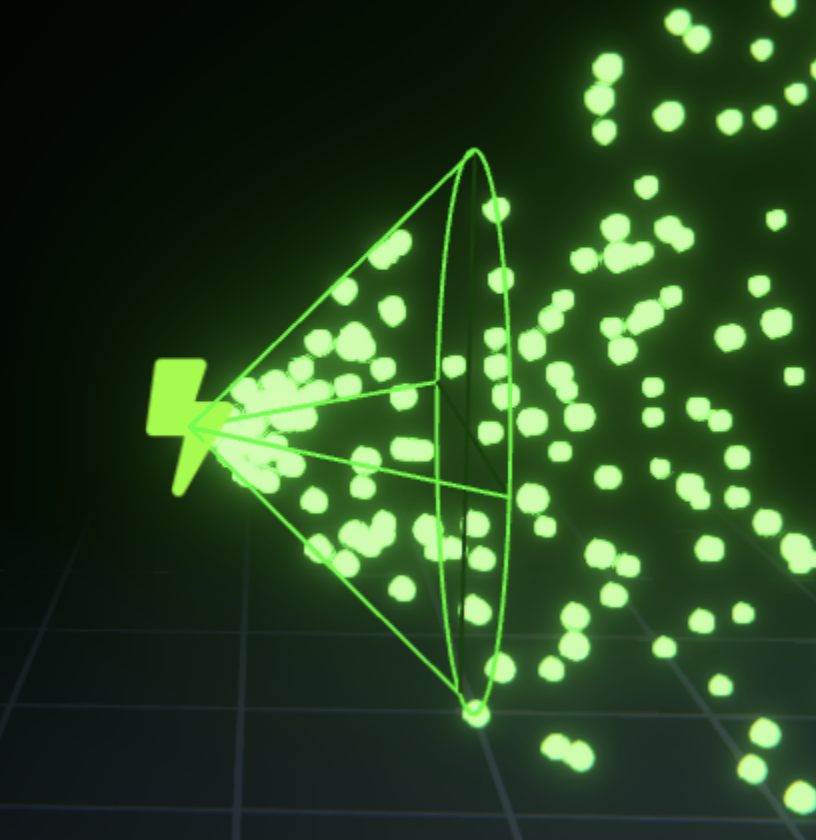
- Built-in Components: Things like @rsx.Renderable (for visuals), @rsx.Camera (for views), @rsx.PhysicsCollider (for physics), or @rsx.Light (for illumination).
- Custom Components: You create these for bespoke behaviors, either in TypeScript or via Carbon Graphs.
The @rsx.Component base class provides lifecycle hooks like @rsx.Component.onEnable, @rsx.Component.onUpdate, @rsx.Component.onLateUpdate, and @rsx.Component.onDisable. Components can access their parent @rsx.SceneObject via this.sceneObject and communicate via events or direct property access.
This component-system design promotes reusability: Attach the same component to multiple objects, or combine components for emergent behaviors (e.g., FollowPath + Defend = patrolling enemy).
| @rsx.Renderable | @rsx.Light | @rsx.ParticleSystem | @rsx.Text3D |
|---|---|---|---|
 |
 |
 |
 |
The table above shows a small selection of different @rsx.BuiltinComponent types that are stock RSX Engine equipment. In this chapter, we're going to build our own Component!
¶ Creating a Simple Component in TypeScript
Let's create a trivial Rotator component that spins its @rsx.SceneObject around the Y-axis (Yaw) over time. This uses TypeScript for precise control.
The speed property will be easily tweakable through the Scene Object Inspector window.
🤔
If you are not familiar with TypeScript yet, don't worry! This tutorial does not require you to know TypeScript, you'll be able to follow along easily.
TypeScript is a powerful language that provides type-safety with incredible runtime performance. Migrating from C++, C#, Java or Javascript is easy but you'll enjoy the benefits of a highly dynamic programming language with quick compile times and type-safety!
¶ Step-by-Step
In this chapter, we're working in the "First Person Camera" sample project that we've created earlier.
-
Enter Developer Mode
- If you are currently in Designer mode, click the Designer/Developer button in the Main Menu.
- All TypeScript files for custom components and Editor Plugins are now dynamically compiled and the engine hot reloads automatically.
-
Create a New TypeScript Resource
- In the Library Window: Right Mouse → New Resource → TypeScript Component.
- Name it "Rotator.ts" and save it in any folder, in the video below we save it in the project root.
-
Implement the Rotator behavior
- Double Click the new Typescript Resource in the Library window to open the built-in code editor or open VS Code.
- Update the class so it looks like this:
export class Rotator extends Component {
    // Custom properties (editable in Scene Object Inspector)
    // The @inspectableField is a "decorator" it will inform RSX that this
    // field can be edited by providing it with information about the type.
  	@inspectableField(Number)
    public speed: number = 45;  // Degrees per second

    // Called every frame
    public override onUpdate() {
       // Calculate the amount of degrees to rotate per frame
       const rotation: number = this.speed * Time.frameDelta;
       // Rotate around Y-axis (local space) by `rotation` degrees
       this.sceneObject.transform.yawWithDegrees(rotation);
    }
}
-
Attach to a SceneObject
- Select a SceneObject in the Scene Editor or Scene Outliner (e.g., a cube) window.
- In the Scene Object window scroll to the Components section and click: + Add → Search for "Rotator" (it auto-registers scripts).
- Tweak the
speedproperty if needed.
-
Test
- Press ▶ in the Keywindow Toolbar or F5, the object should rotate smoothly.
- Tweak the
speedproperty while playing, the object will respond instantly! - Stop the simulation and edit the script live! Changes hot-reload in the editor (no restart needed).
-
Commit the Code for Designers
- To make the new functionality available to the rest of the team that works in Designer mode we can quickly commit our code.
- Press the Cog wheel button next to the Designer/Developer button.
- Press the Commit button to commit your code as module.
- Your commited code will upload momentarily.
- Switch to Designer mode by clicking the Developer/Designer button.
- Your code will not work, but changes are no longer recompiled.
This approach is great for performance-critical or algorithmic logic. For full details on lifecycle and APIs, check the @rsx.Component documentation.
¶ Implementing the Same Component with Carbon Logic Graph
For visual thinkers and designers, the Carbon Logic Graph lets you build the same Rotator behavior without writing code. Carbon is RSX's node-based system for logic, materials, animations, and AI.

🤓
The following step-by-step guide to build the graph might seem like a lot at first. But it's important to note, that it's just a few clicks when you work visually in the Carbon Logic graph. Even more, all those workflows repeat and are the same, so once you know the workflows outlined here - you can apply them to every single node in the canvas! Hold on tight, you can make it through this! 🙏
¶ Step-by-Step
-
Create a New Carbon Logic Graph Resource
- In the Library Window: Right Mouse → New Resource → Carbon Logic Graph.
- Name it "RotatorLogic" and save.
-
Open the Carbon Logic Graph
- Double Click the new Resource in the Library window to open in the Carbon Graph Keywindow.
-
Build the Graph Layout
-
Add nodes via Quick Search by Right Click in the empty area, or press Space.
-
Type "On Update" and spawn a Carbon Logic On Update node (fires every frame and provides access to the @rsx.SceneInstance and @rsx.SceneObject).
-
Click the pin right next to "Scene Object" and Mouse Drag to an empty are. Quick search will now appear to select a node to spawn. Type "Get Transform" and press Return. The new node will appear.
-
Click the yellow "Scene Object Transform" on the Get Transform node and drag a connection to the empty space on the right. Let go to spawn Quick Search again and spawn the Yaw With Degrees node.
-
The new node is a "Control Flow Node", this means it needs a point in time when it executes. The Control Flow in your graph is indicated by the thick white pins and connections that now go from the Carbon Logic On Update to the new Yaw With Degrees node. The left pin is the previous step in the execution, the right pin connects to the next step in the execution.
-
We now have the pieces assembled to rotate our @rsx.SceneObject each frame and need the missing math that determines by how many degrees we should rotate our object. Let's create a Variable that can be controlled by the Scene Object Inspector window.
-
-
Add a Variable
- Click on an empty space in the graph canvas. This deselects all nodes and shows the properties of your Carbon Logic Graph in the Graph Object Inspector.
- In the Variables panel Click the + Add Variable button. RSX automatically creates a new variable of type
Number. For now, this is exactly what we want: a regular number! However, you could easily change the type of the variable by clicking the pin left to the name, for floats, the pin color is purple. - By default, new variables are Private to your Carbon Graph, this means you cannot edit them from the Scene Object Inspector window. To make the variable Public and editable, click the Eye icon on the right edge of the row.
- The new variable is now editable in the inspector! Double Click its name
Variableto change the name, a popup will appear, enterSpeed. - The text field right to the name, indicates it's default value, change it from
0.0to45.0. - The variable is now ready to be used in the graph! Click the drag handle on the left edge of the variable and Mouse Drag it into the graph, left to the Yaw With Degrees node. A popup will appear, select
Create Getter for 'Speed'. A node will now appear that allows you to access the value of your variable.
-
Doing the Math to let the Rotator rotate
- Similar to our TypeScript example, we have to multiply the
Speedwith the time that has passed since the last frame. - Click the pin of the new node, Mouse Drag a connection and type
Number * Numberand spawn the node. The new node lets you multiply one value with another. - The
Apin is automatically connected to your variable. Let's spawn a node that gives us access to theframe delta. - Right Click in the empty space below your variable and type
Timeand press Enter. A node will spawn that give you access to different time values. - Click on the
Frame Deltapin and connect it to theBpin of theNumber * Numbernode. You are now multiplying theSpeedwith theFrame Delta! - Now connect the
Numberoutput pin to theAngleinput pin of the Yaw With Degrees node. - Click
Command+SorCmd+Sto save the graph!
- Similar to our TypeScript example, we have to multiply the
-
Attach as a Component
- Select a Scene Object in the Scene Editor or Scene Outliner (or quickly spawn a box from the Main Menu)
- Drag your new RotatorLogic Carbon Graph from the Library window onto the object in the Scene Editor or onto the Scene Object Inspector
-
Test
- Play the scene, you should see identical rotation behavior to the Typescript example, but this time, no code modification was required.
- In Scene Object Inspector: Adjust the exposed "Speed" parameter.
- Edit the graph live: Nodes update instantly during play.
🎉 Congratulations! You made it through it but now you are familiar with the creation of custom behaviors using both TypeScript and the Carbon Logic Graph!
¶ When to Use Which?
- TypeScript: For complex algorithms, external integrations, or when you need debugging breakpoints.
- Carbon Graph: For super modal behaviors that do not rely on code compilation, visual workflows and quick iterations!
You can even call your own TypeScript functions or components from a Carbon Graph by adding a @rsx.carbonLogicMethod or @rsx.carbonLogicExpression decorator to your function. Custom components are automatically detected!
¶ Next Steps
You're now familiar with all the key concepts that are required to build an interactive experience or game with RSX! The final piece you're missing is how to deploy your project as a standalone application.